
DIY Worth A Try: Travel in Style with the “Slightly Slouchy Crochet Hat” // via iheartstitching.com
[UPDATE]: I’m now selling this hat on Etsy!
As winter approaches and temps are dropping, I like to get cozy — and crafty — which is what makes this DIY a perfect match for the fall season. Whether you need a time-passing activity for an upcoming flight, or you’re cozying up for a chilly travel destination, iheartstitching’s Slightly Slouchy Crochet Hat Tutorial is worth a gander.
Why do I think you should try this DIY?
Here are 3 reasons to try this DIY:
It’s Beginner-Friendly.
I literally decided three days ago that I wanted to learn how to crochet. This was my first project, and I’m proud to say it turned out A-OK. I did spend maybe two hours practicing before I began what turned into my awesome new deep turquoise hat. But once I figured out how to keep my tension consistently loose, I was good to go. Melanie (the pattern designer from iheartstitching) includes an instructional YouTube video with the written pattern, so it’s up to you how you follow along.
Note: I learned how to knit in high school, so you might figure I caught on fast for that reason. But I doubt it. Crochet is a whole different world from knitting. If you’re a reasonably crafty person, you’ll catch on just as quickly.
It’s Inexpensive.
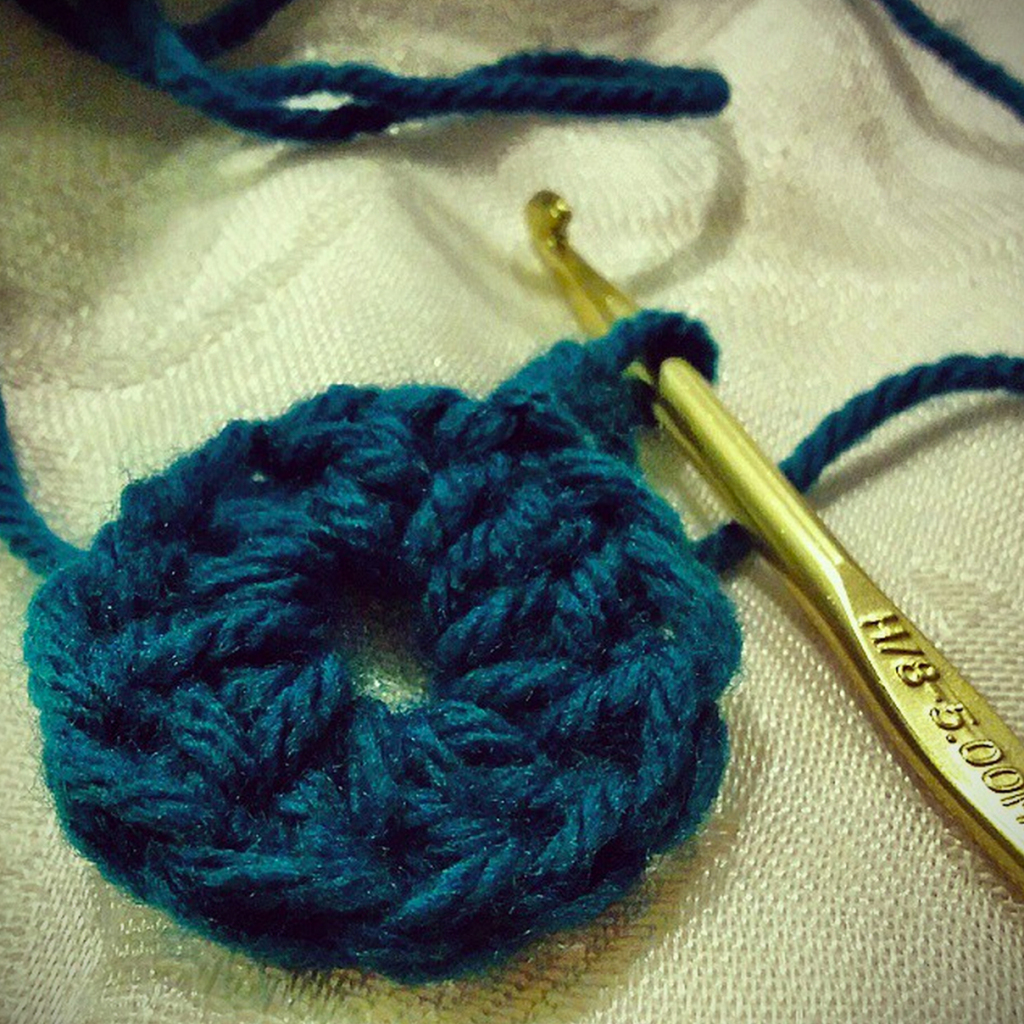
I went to Michael’s and found my favorite color yarn and a hook. (Best $5 I’ve spent this month!) Crochet is a pretty cheap addiction — hobby… I meant hobby! — since there are several free online tutorials out there, and the best ones are way better than the books you’d pay $10+ for at a craft store.
It’s cheaper than knitting (crochet hooks are cheaper than knitting needles), and you only need one skein of yarn to complete a hat. (Yay!)
It’s Fashionable.
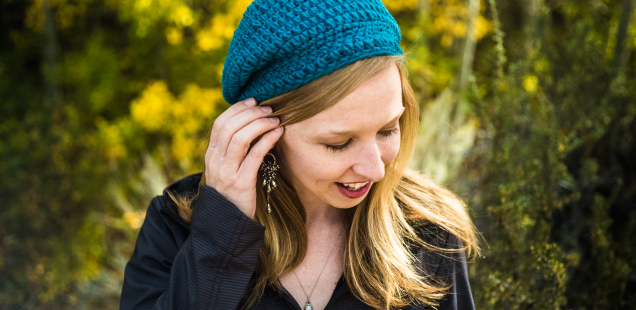
This thing turned out even better than I’d hoped! Not only does it add an extra dash of style to your outfit, it’s sure to fit you well, too. Ever tried on a hat at a store and wished it fit better? Yeah, me too. Since you’re in the stitcher’s seat, you don’t have to worry about poor fit. You can customize the style to your head. I did! (See my variation below.)
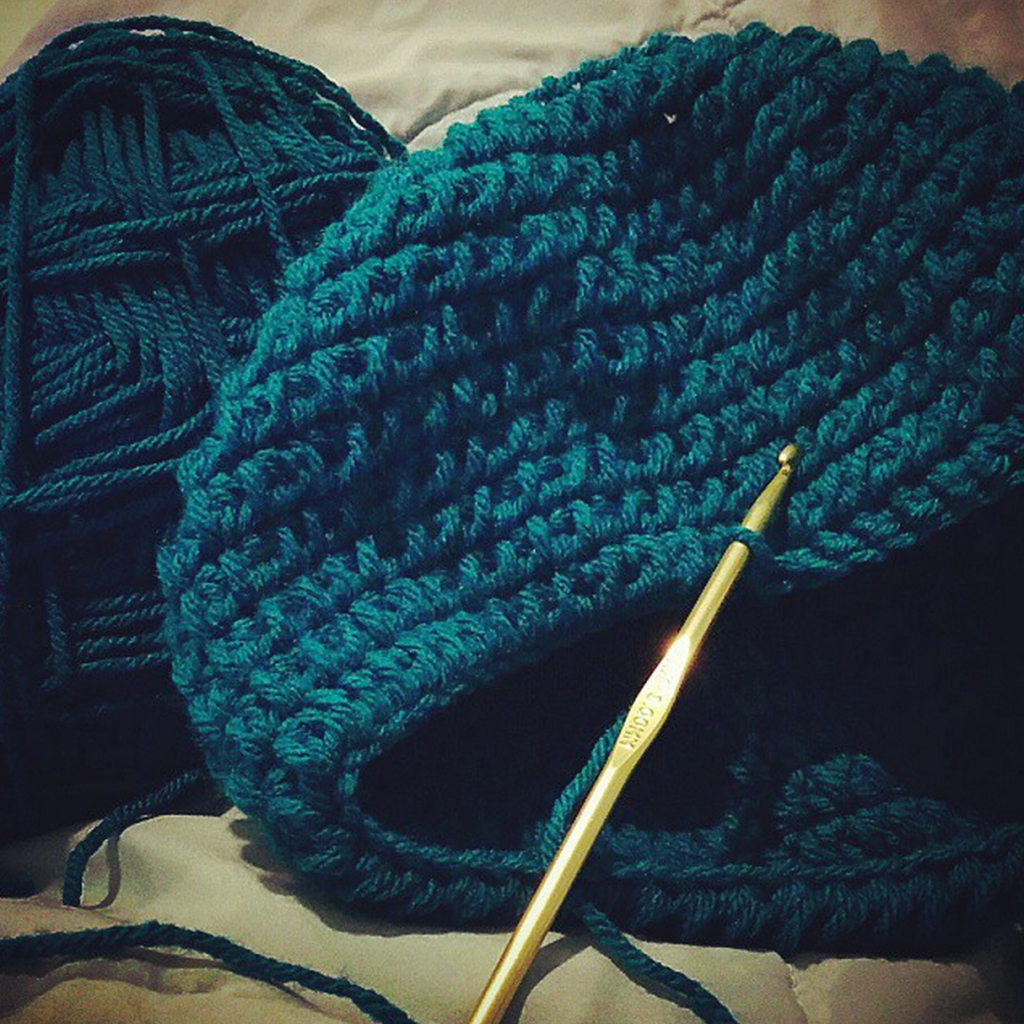
My variation: When I reached the end of the iheartstitching tutorial, I tried my hat on and decided I wanted it a bit longer so I could pull it down over my ears in the cold. So I added three rows: one row of single crochet, one row of puff stitching, and one final row of single crochet. You can see the slight difference in appearance around the bottom of the hat.
My First Crochet Hat
Ready to get started?
Watch Melanie’s tutorial on YouTube or follow along in her written instructions. I switched back and forth.
YouTube Tutorial
Written Instructions on iheartstitching.com
A few tips from a new “hooker”
Practice First — I started this tutorial twice before I made it all the way through. I was a total beginner, so I figured I’d just get the practice from trying an actual project. I expected to need to start over. Unraveling is easy, and the third time was a charm for me.
Rewind & Rewatch — The hardest part I found was figuring out how to “slip stitch” at the end of a row. I couldn’t figure out where to insert the hook at first. I did it wrong and ended up with a few hole-y spaces on my first two attempts. It turned out my tension was too tight which made it impossible to see where my hook belonged. I recommend rewinding and rewatching any portion of the video you’re unsure of. Also, this may be obvious, but the pause button will be your best friend!
Keep it Loose — If you’re new to crochet, you’ll probably have a hard time tensioning at first, and it’s likely you’ll be stitching too tight. Keeping your tension loose will make everything easier — especially with that slip stitch thing I mentioned. For best results, start your rows as loosely as possible.
Make it Fit — Like I mentioned, you can make this hat fit the way you want it to. If it’s not long enough, don’t hesitate to add a few rows at the end.
Add a Liner — Finish your hat off with a liner to make it extra cozy. Follow this tutorial from Playin’ Hooky Designs. (She also designs lovely hats. I just bought her boulder beanie pattern and can’t wait to get started!)
A Travel-Friendly Project
All you need is yarn, a hook, and a plastic yarn needle to make this hat. And BONUS: This project could easily fit in your carry-on!
Lastly, I’ve never tried taking knitting needles on a plane — would that be considered a weapon? — but I’d be confident a crochet hook wouldn’t hang you up at security. It’s a great way to pass traveling time! (I’d guesstimate it took me about 6 hours to make this hat.)
I hope you enjoyed reading about this DIY from iheartstitching.com! What do you think? Is it worth a try?
Author Profile
- STG Founder & Contributing Editor
- Diana is an outspoken, DIY-ing, star-chasing, hockey-loving, dog-owning, veggie-eating professional wanderer. And that's not the half of it. Not long ago she jumped ship from a comfy, predictable American life, sold all her stuff, and set out to explore the unknown. Now a full-time traveler, Diana believes that spontaneity, a smile, and an organized suitcase are the three key elements to a happy nomadic existence. Follow her personal travels on North To South.
Latest entries
- June 22, 2017WeddingWedding Planning for the Bride On the Go — Getting Started and Setting a Date
- February 27, 2017Health and BeautyFirst-Timer’s Guide to Iceland’s Blue Lagoon
- October 5, 2016FashionCozy Cute Camping in New Zealand (Outfit)
- July 3, 2016Editor's PicksLupine Summer (Outfit)








Fantastic post!! Very thorough and informative! You and your hat are adorable!
Thanks Melanie! Of course I couldn’t have done it without your truly fabulous tutorial. I’m so happy with how my hat turned out! I’ll definitely be trying more tutorials from iheartstitching.
Your hat is so cute! It makes me want to try to make one.
You actually can bring knitting needles on a plane, but it’s the scissors you need to watch out for. Maybe a finger nail clipper would be a good alternative.
http://www.tsa.gov/traveler-information/transporting-knitting-needles-and-needlepoint
Thanks Elyse! That is definitely good to know. 🙂
I have tried this hat pattern numerous times without success. I watch the Utube and follow instruction together and end up with the wrong count. I have two extra stitches instead of 12. Next row, I could go about 28. What am I doing wrong? I am a long time crocheter
Please help!
I also had some issues with extra stitches, but my first hat actually turned out fine despite the fact that my rows weren’t ending the same way as in her tutorial. Melanie does mention in her written tutorial a small adjustment that she made to the pattern, which is not in the YouTube video: “Note: The ch 2 does NOT count as a hdc when you are counting your round for THIS pattern as it “usually” would or could in other patterns. It was creating a little gap, so I made this adjustment.”
I hope that added info helps!
Her written tutorial can be found at http://www.iheartstitching.com/free-slightly-slouchy-crochet-hat-pattern/
Maggie — If you’re still having trouble, I have two new tips after making more of these hats!
First, when you’re HDC’ing inside the circle at the beginning (round 2 of Melanie’s written pattern), try doing 11 HDC instead of 12. Second, make sure that when you’re slip-stitching at the end of a round , you’re doing it in that first stitch (rather than one step to the right on the top part of the chain you started that row with).
With these two adjustments, I was able to keep my stitch counts accurate on the latest hat I made! I hope that helps 🙂
Great post! 🙂 I love the hat, I have to make one myself!
Thanks, Grace. I’m glad you like it! Make sure to share a photo with us when you do. 🙂
[…] that Slightly Slouchy Crochet Hat I made last month? Well I’m in the gift-making DIY mood, and STG needs more readers. Since […]
[…] fedora (warm weather) or handmade crochet beanie (cool weather) / Ian’s: baseball […]