
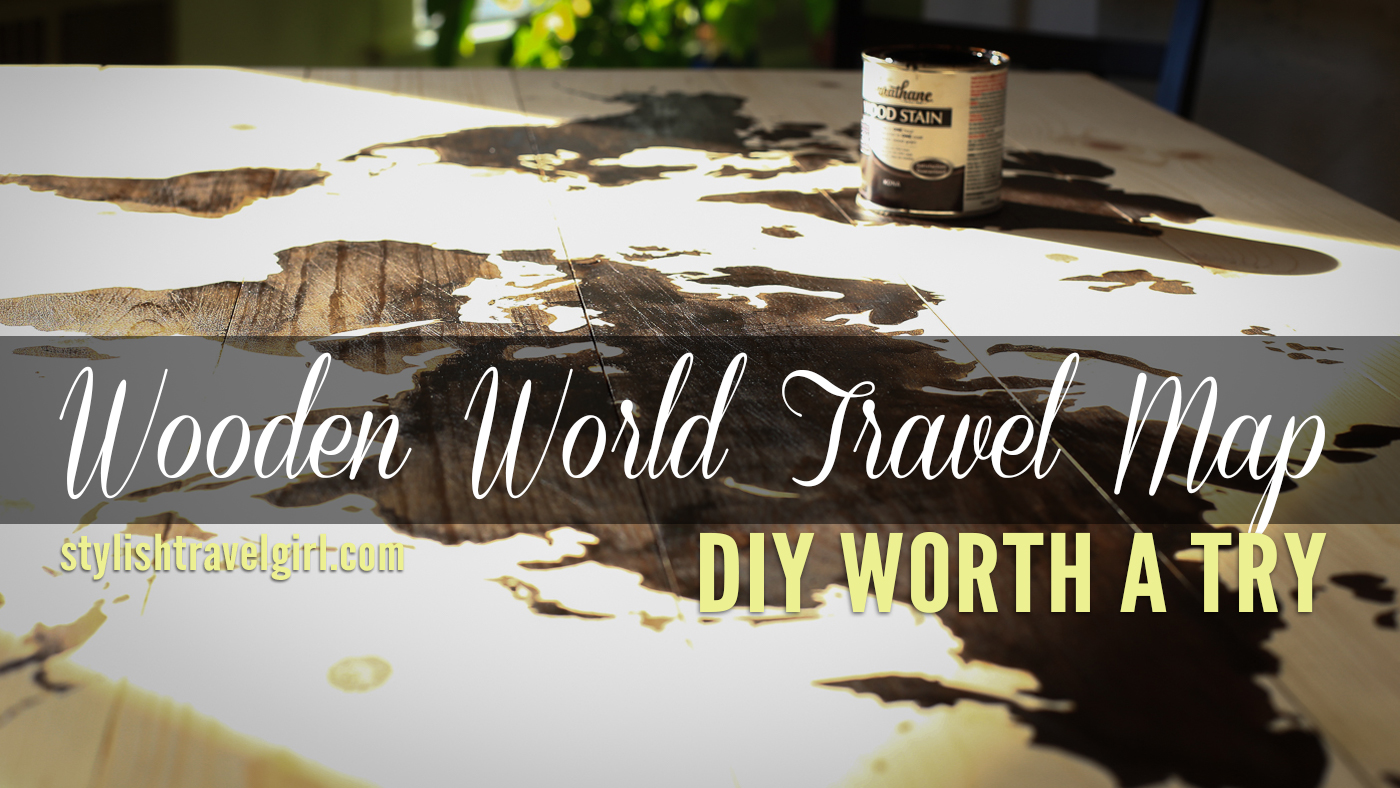
DIY Worth A Try: Display your travels beautifully on this wooden world travel map // via thehappierhomemaker.com
Nothing increases a girl’s lust for travel like a majestic display of the places she’s been. This project is for the DIY-loving traveler; it’s tedious, time-consuming, and takes tons of patience, but (I promise) your efforts will be well-rewarded if you set aside craft time for thehappierhomemaker.com’s Wooden World Map.
Why do I think you should try this DIY?
Here are 4 reasons to try this DIY:
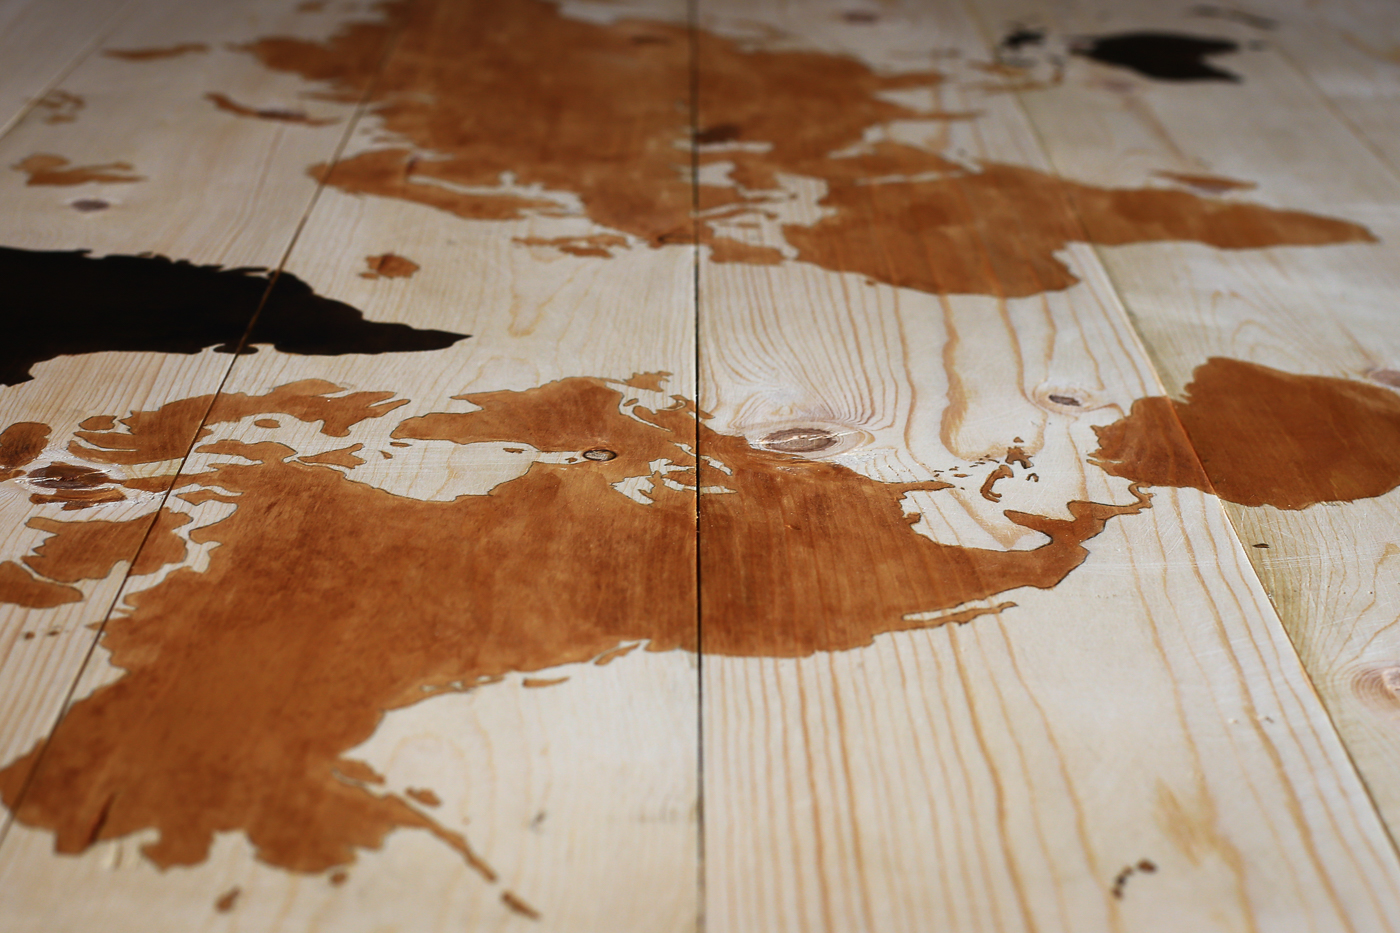
It’s Beautiful.
The sturdiness of the wood. The intricacy of the brushstrokes. The fact that you made it yourself and now have it majestically mounted to your wall for you and guests to admire. You’re pretty much guaranteed to be in awe of your creation. It really is quite lovely to look at.
It’s Useful.
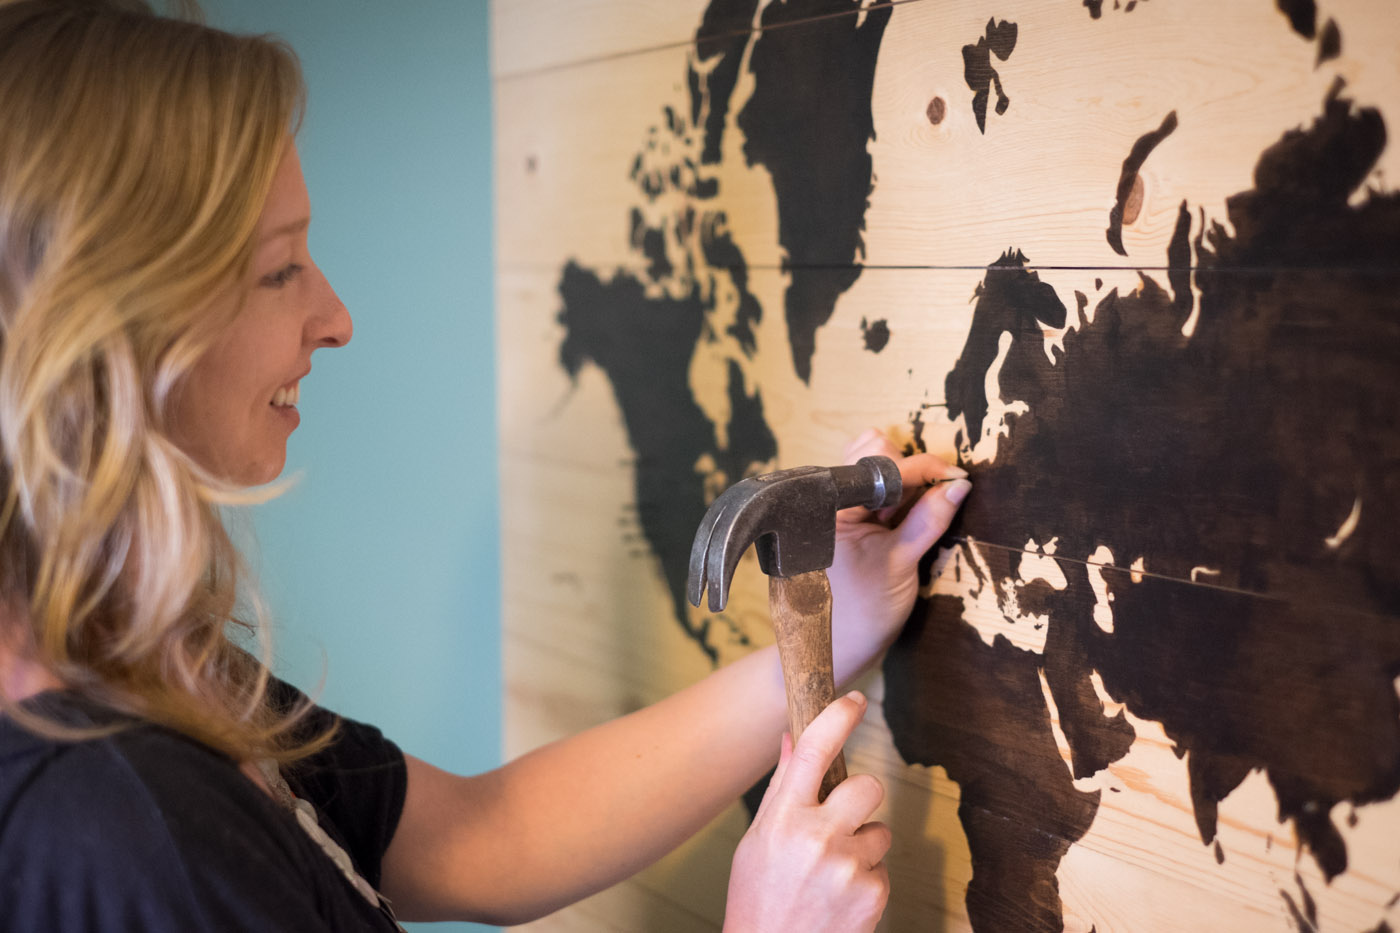
Anyone can purchase a paper world map and mark all the places they’ve traveled with a delicate little pin. Not everyone can elegantly mark the places they’ve visited in our great big world with a nail and hammer. It’s functional art at its finest.
It Lasts a Lifetime.
This DIY takes no shortcuts, but you’ll reap the rewards of your craftsmanship well into your elder years. It won’t be a problem transporting this sturdy masterpiece if life uproots you from one happy home to another — one, two, even ten times! And it’ll certainly be simpler than moving a pinned paper map.
It’s Super Expensive to Buy One.
If you can even find an artist who makes these, you’ll likely pay a LOT for it. (For example, I found a similar item for $300 with a quick search on Etsy.)
My World Travel Map

![]()
Ready to get started?
Read Melissa’s tutorial for her DIY Wooden World Map Art over at The Happier Homemaker.
Written Instructions with Photos on thehappierhomemaker.com
There aren’t any details on the wood construction part of this tutorial, so see my tips below for that stage of the project. Feel free to ask questions in the comments if anything is unclear!
A few tips from my experience
Plan it out — I wanted a large map with plenty of space for marking my travels, a light colored wood, and a dark stain. I went to Home Depot to scout for wood boards and found an affordable, good-looking board that measured 1″ x 6″ x 8′ and determined that if I bought three and cut each in half, I could make a 4′ x 3′ map. You’ll also need:
- One additional board to secure the boards together on the reverse side. (I used an inexpensive 1″ x 4″ x 10′ board and cut it into three 3′ pieces with 1′ leftover.)
- Sandpaper (Start with a course grade and finish with a fine grade.)
- Wood glue (for added security between the back and front panels)
- Hammer
- Finishing nails (long enough to go through your back panels and at least halfway into your front panels)
- A variety of paintbrushes (A set like this should do the trick.)
- Pencils
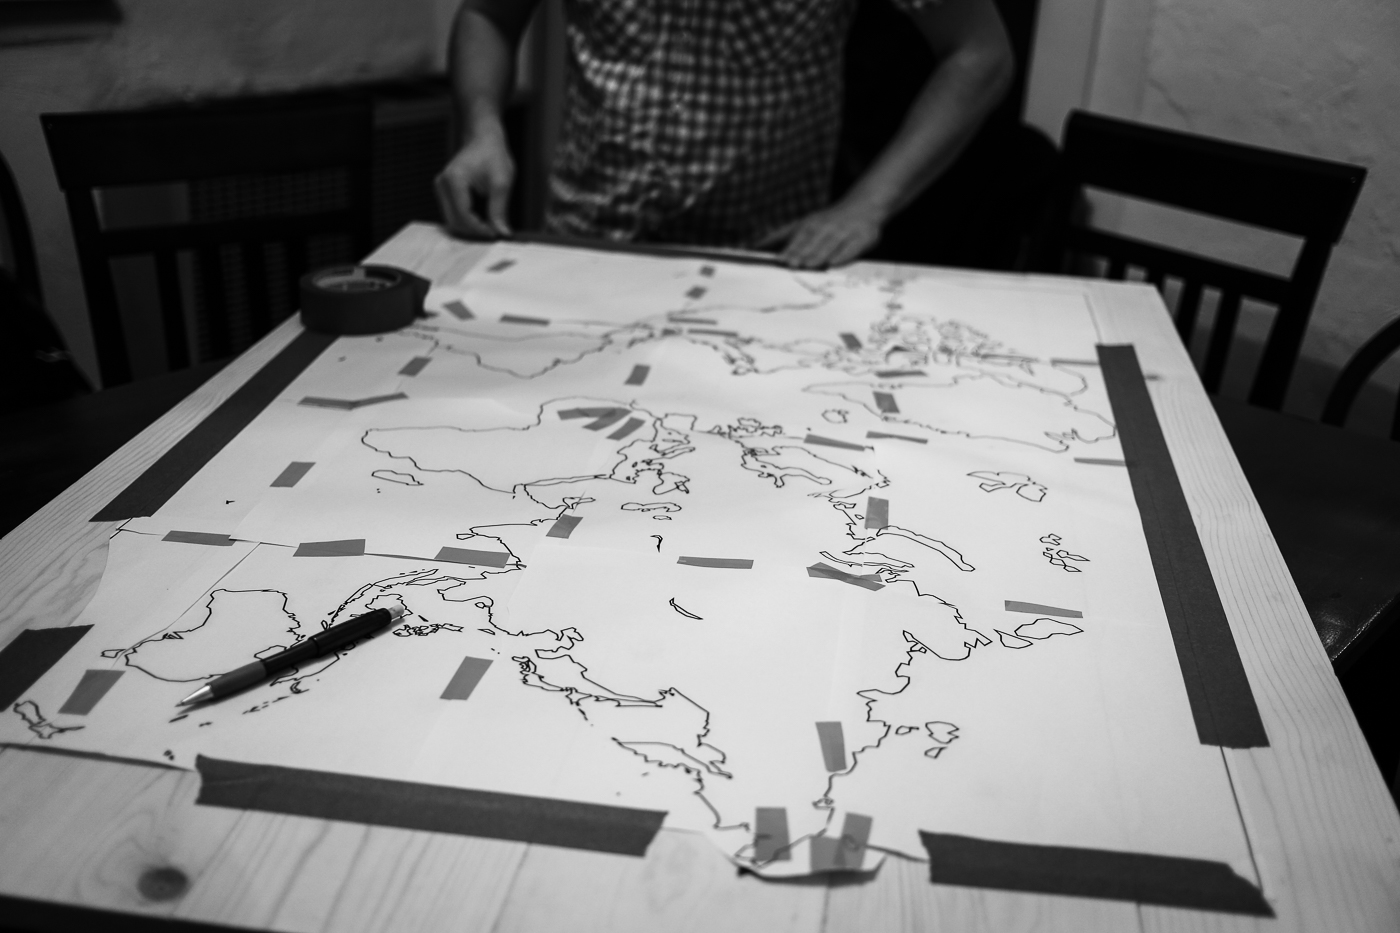
- Map printouts
- Tape (for map printout assembly and holding your map in place while tracing)
- Wood conditioner*
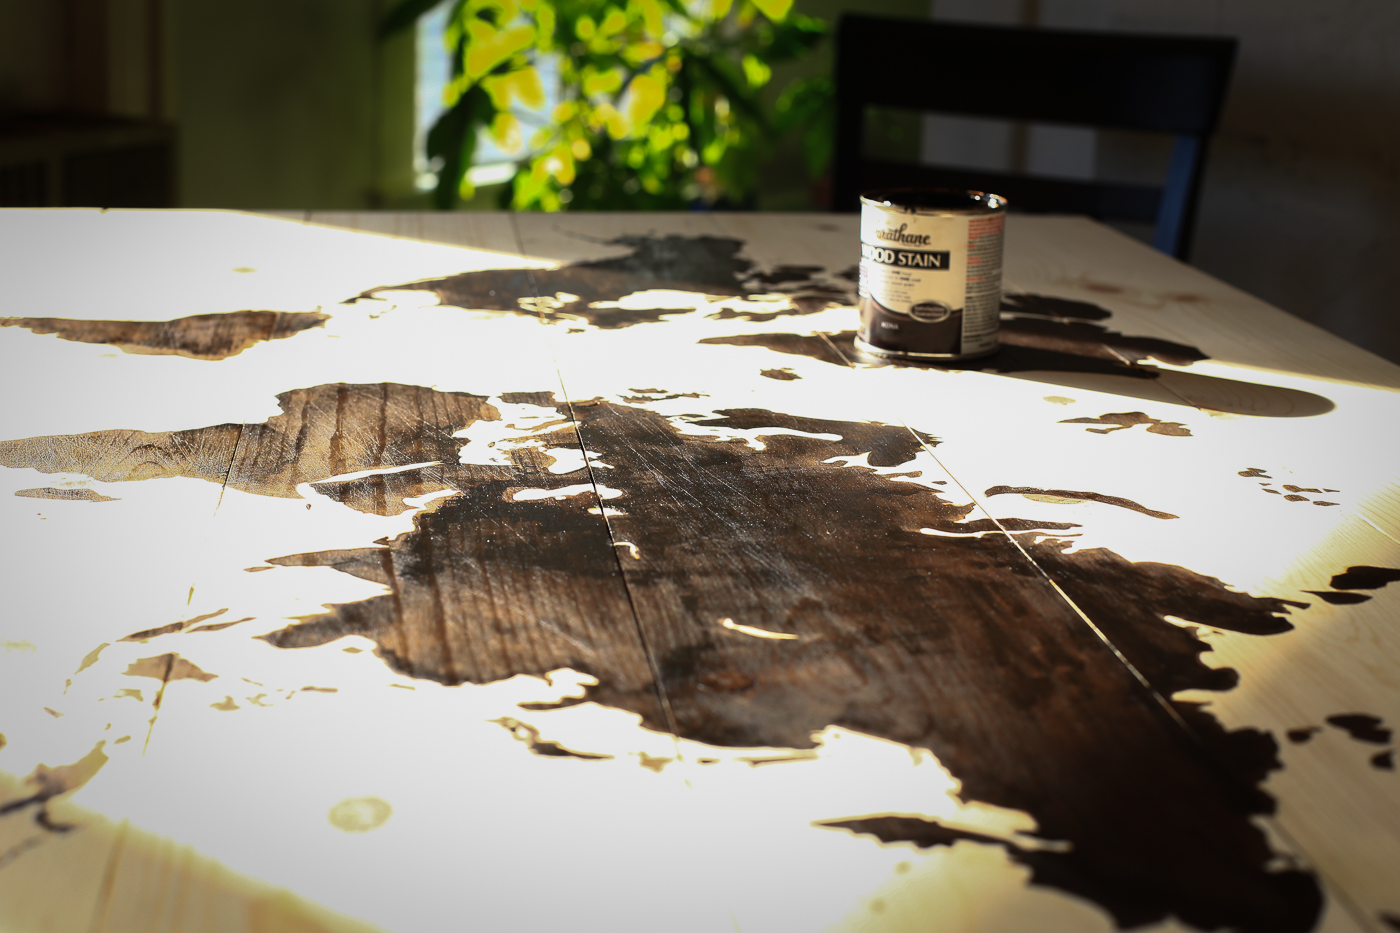
- Wood stain (I used Varathane wood stain in Kona. Buy the smallest container available — you won’t need a lot.)
- Polyurethane (This isn’t on THH’s supply list, but my stain required a top coat, and I wanted to be sure to seal my unfinished wood anyway.)
- Wall mounting kit
- Ruler and level (for precise mounting)
- Map marking nails
*Whether or not you need wood conditioner depends on the stain you use. I did NOT use wood conditioner, since I chose a stain that required no wood priming. Just be sure to read the instructions on the stain you choose.
Save on materials — I didn’t buy the pricey “select pine” I originally had my eye on at Home Depot but instead went with a sub-$10 board, and — I promise you — it turned out beautifully. You can hand-select your wood, so choose whatever tickles your fancy. Sure, my boards had more knots than the “select” ones, but that was the look I was going for. The knots add character. (A few affordable board options: HD’s common board and HD’s standard DF/HF board — You’ll need three to make a 4′ x 3′ map.)
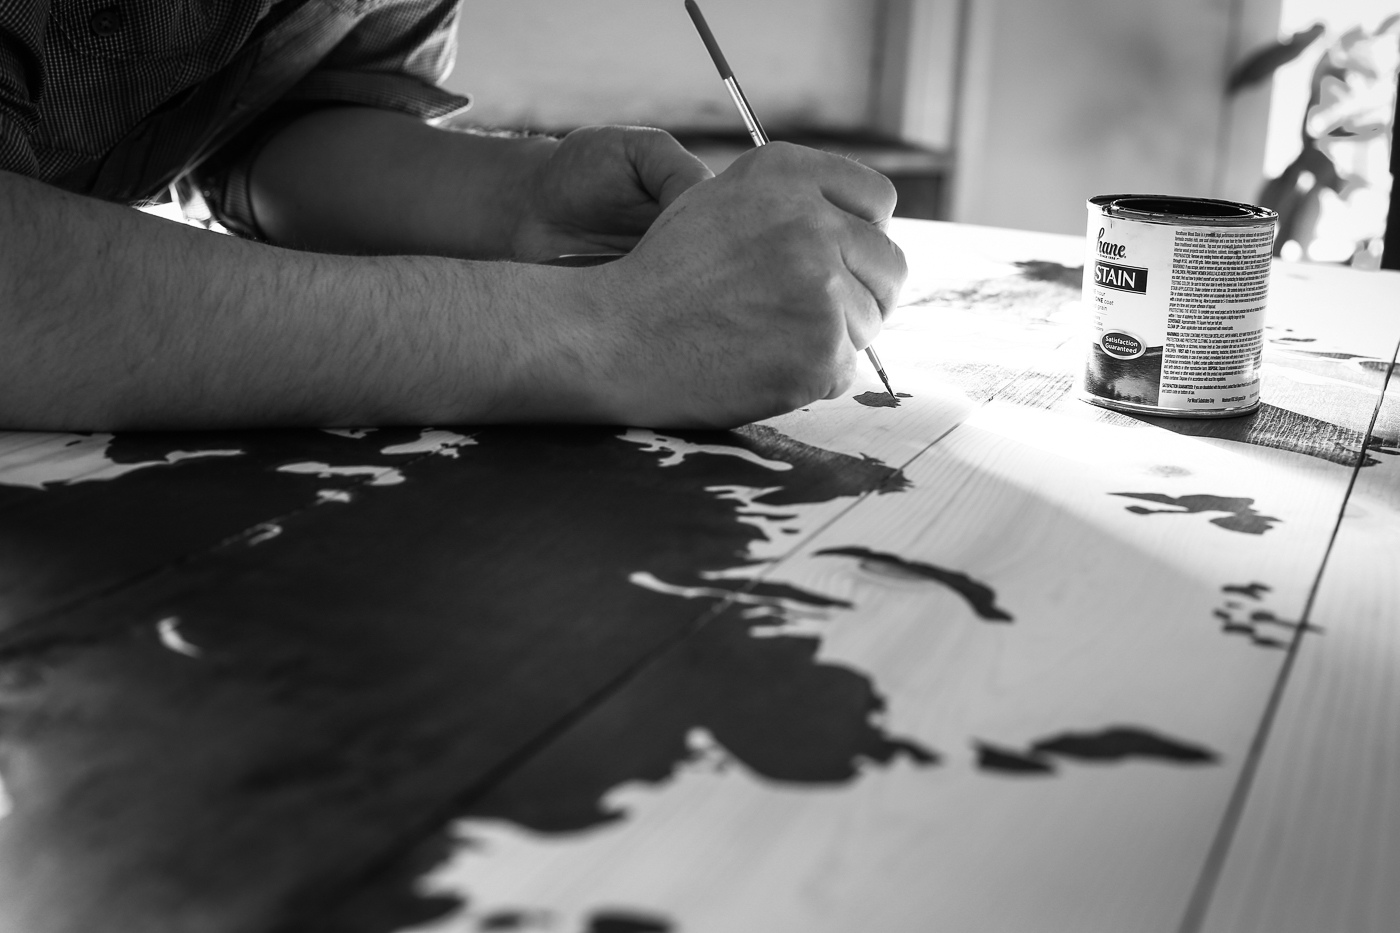
Mix your stain — Unless you want to experience the joy of staining your map twice like we did (oops!), do yourself a big favor and thoroughly shake or stir your stain before you start your brushwork. An occasional stir as you work won’t hurt either — every 30 minutes or so. If you’ll be completing your map in multiple sittings, mixing thoroughly before each sitting is essential to achieving a consistent color.
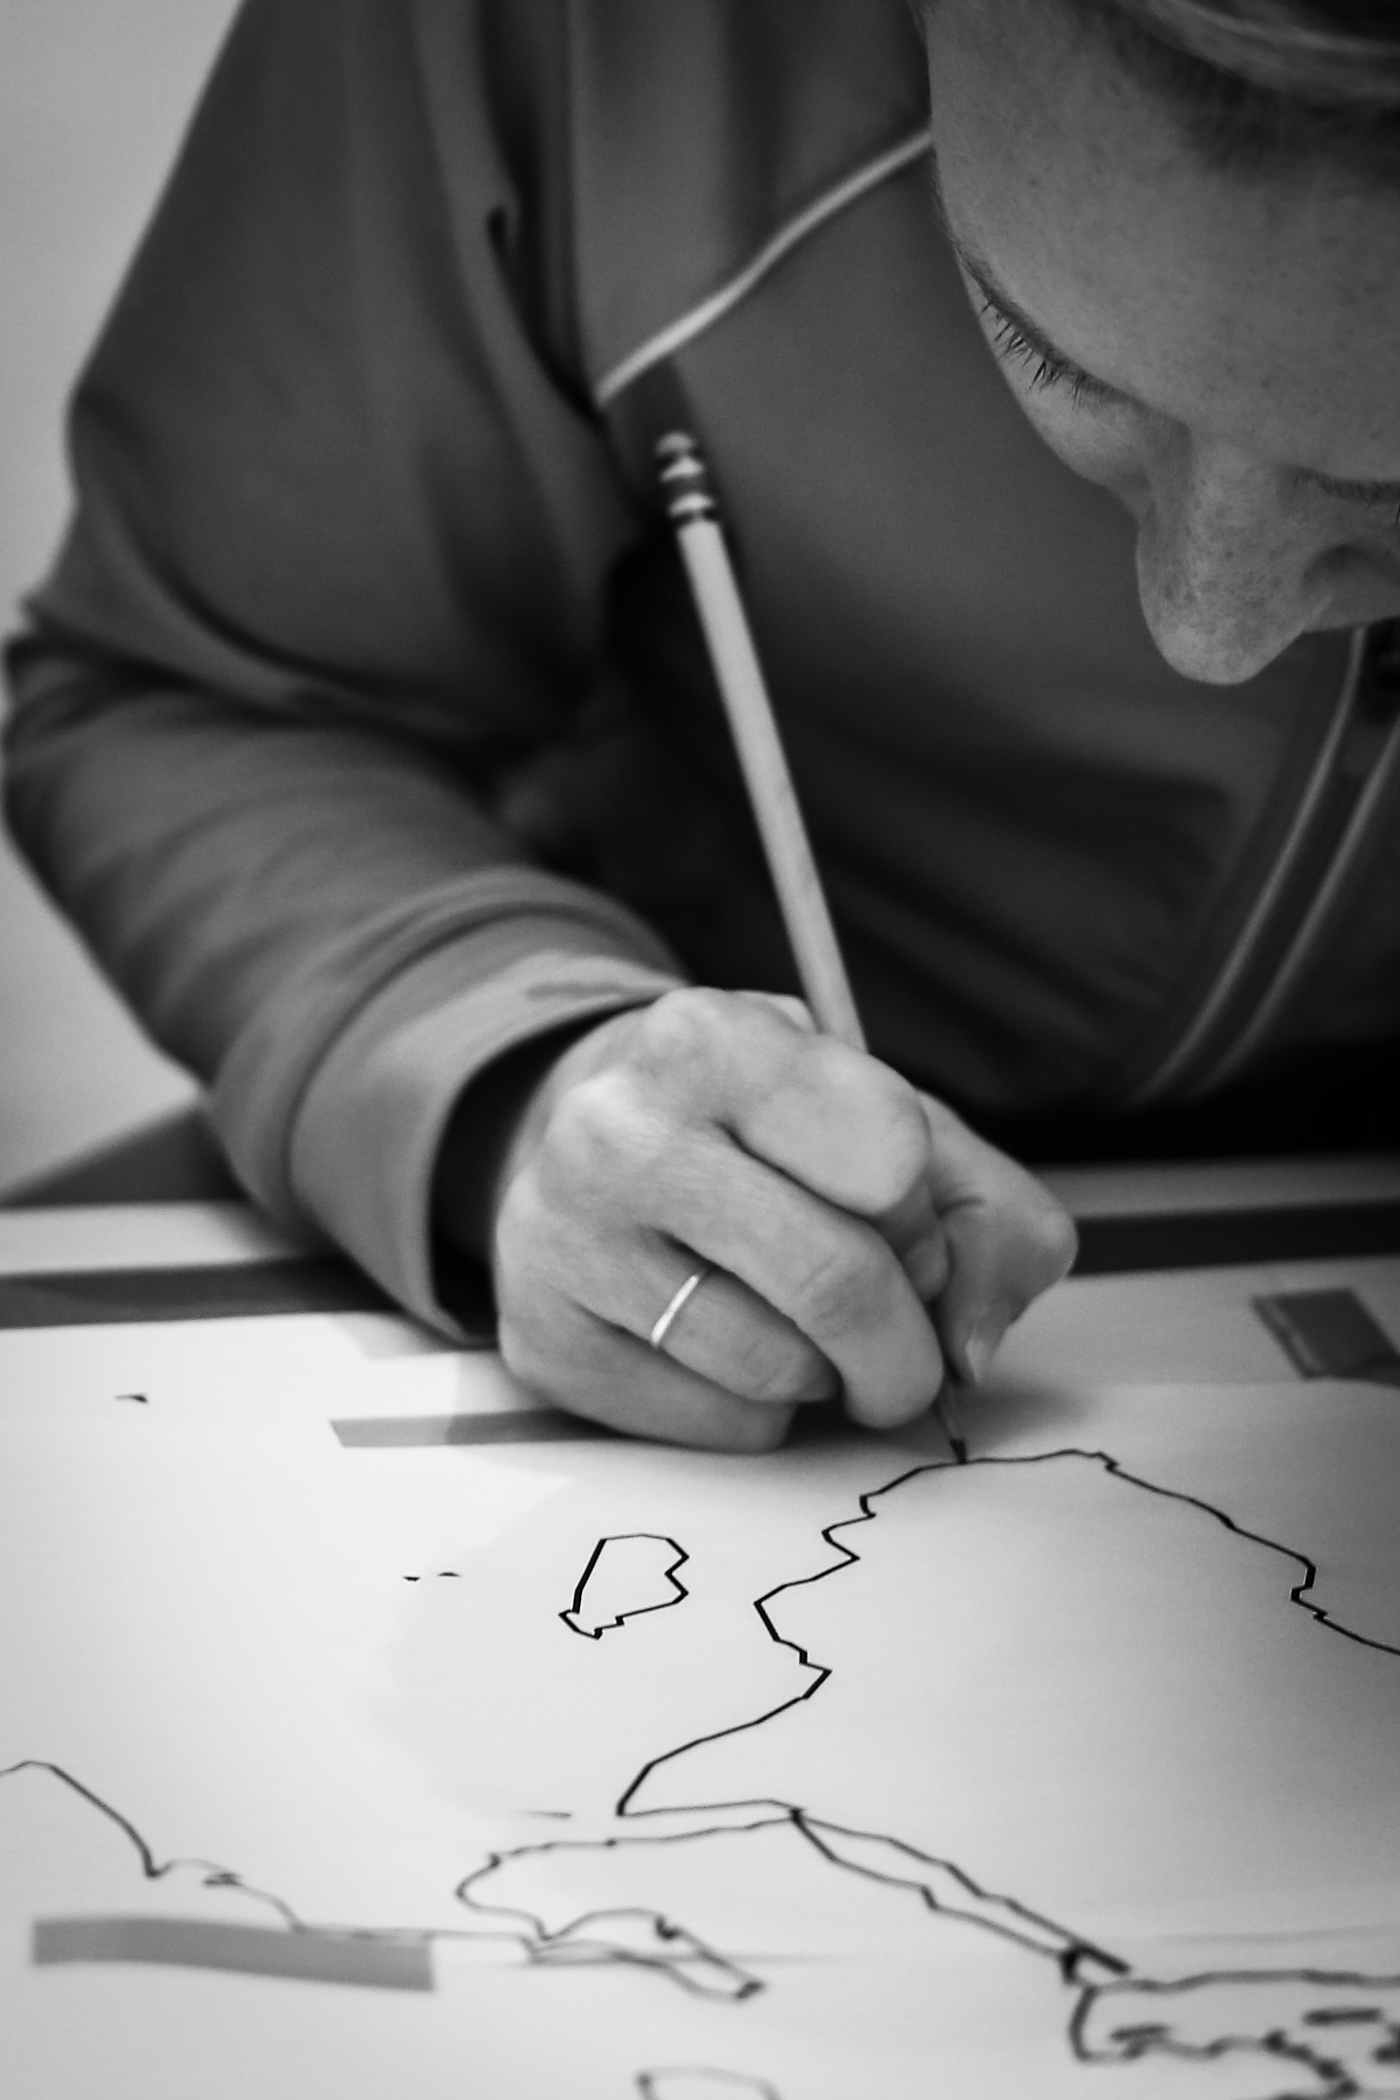
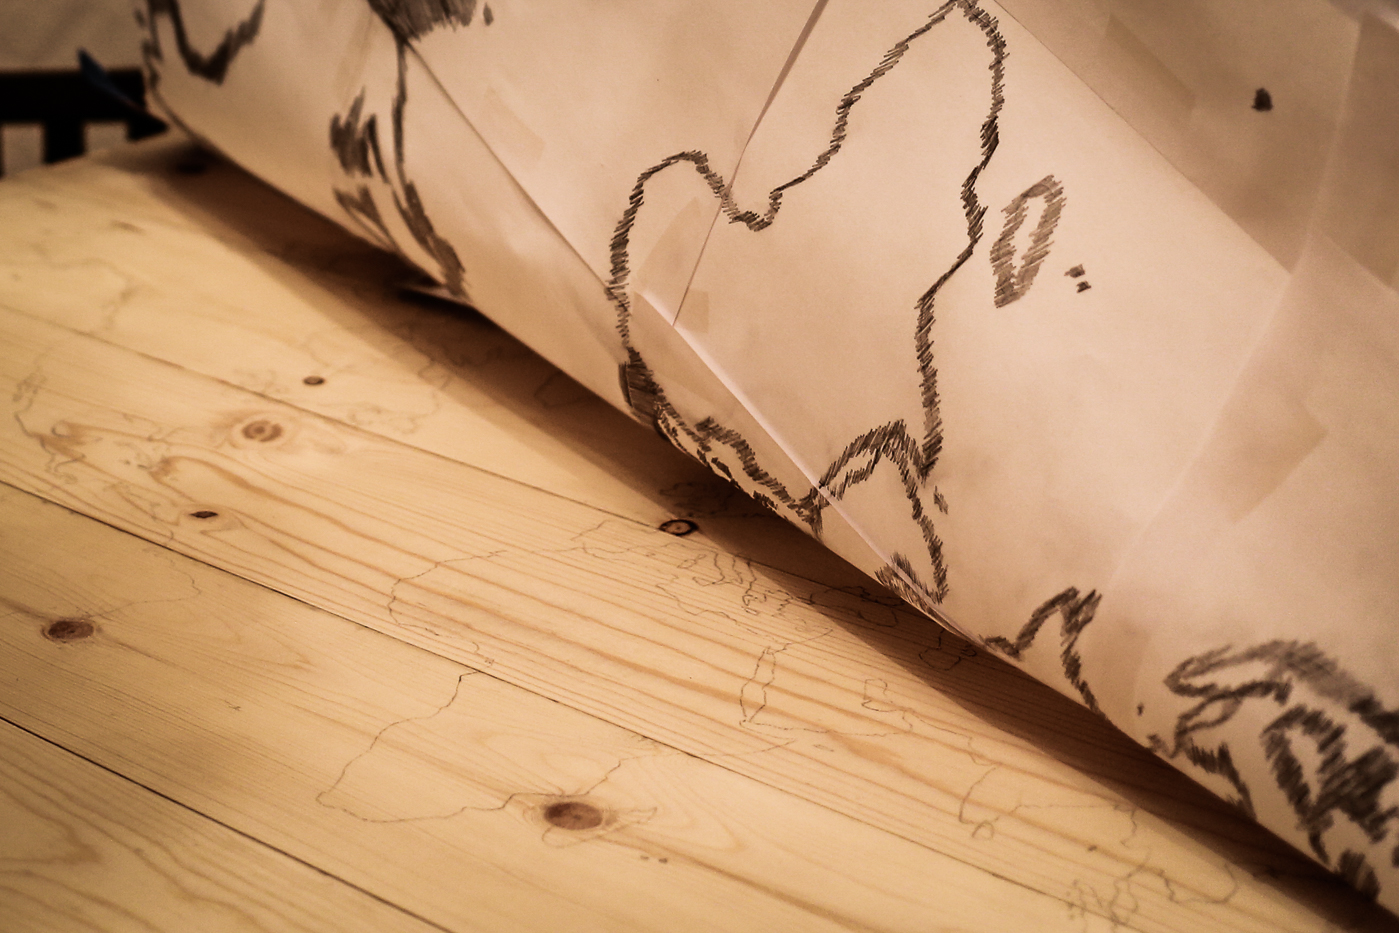
Test for bleeding — Before you begin staining the outline of your map, take a light brushstroke on either some scrap wood or smack in the middle of Asia — somewhere where it won’t matter if it bleeds — to make sure your stain won’t seep out of bounds.
Practice makes perfect — I recommend doing some general stroke practice on scrap wood before you start staining your map. Practice applying the stain as evenly as possible, and try to maintain a consistent stroke direction across your map.
Choose an appropriate brush — Angled brushes are good for edges. Fine brushes are good for tiny islands. Wide brushes are good for large areas. Etc.
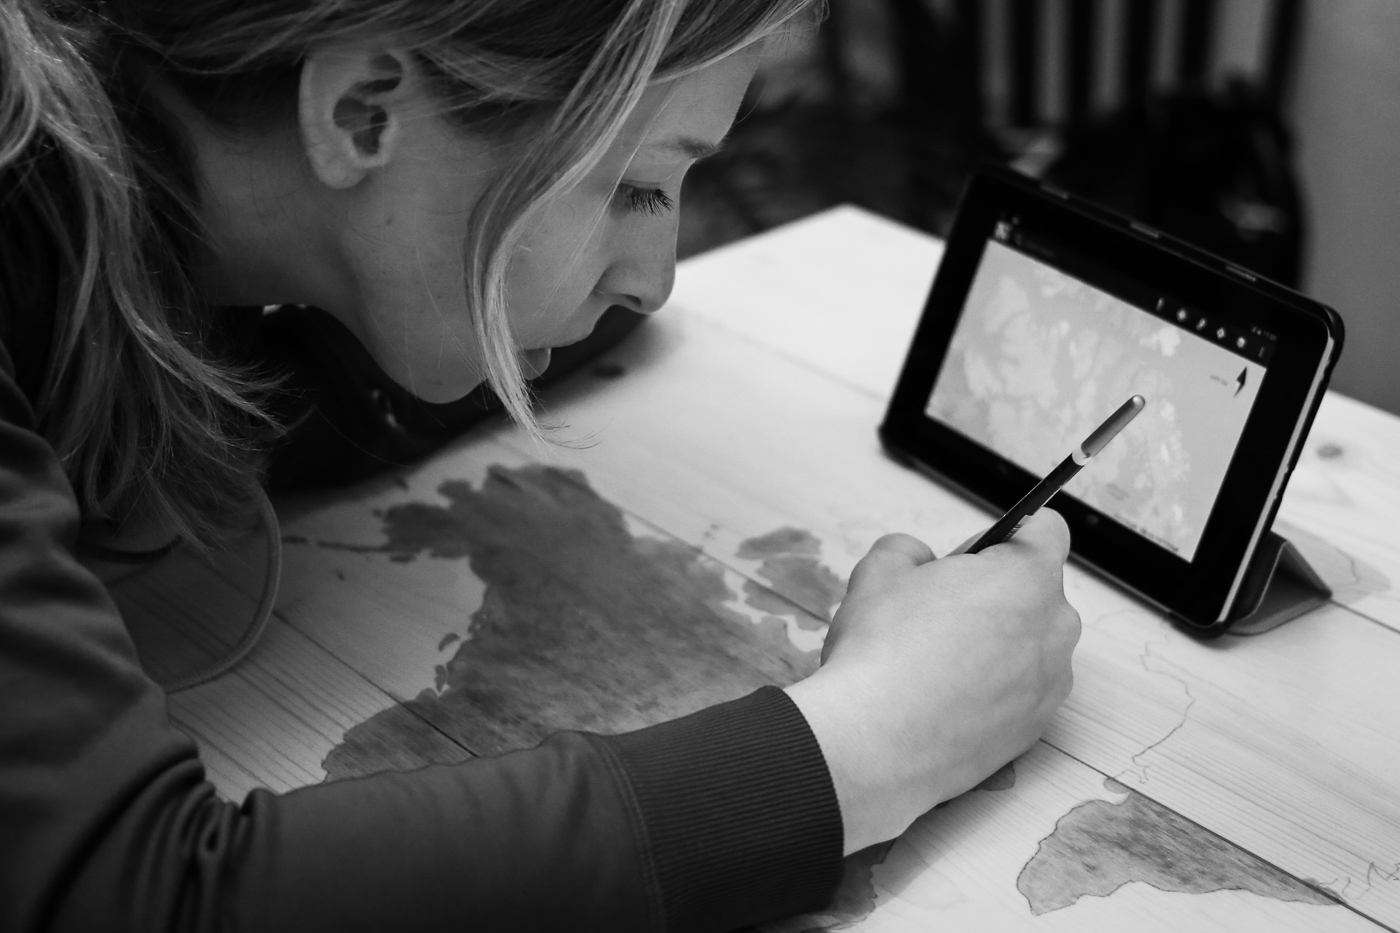
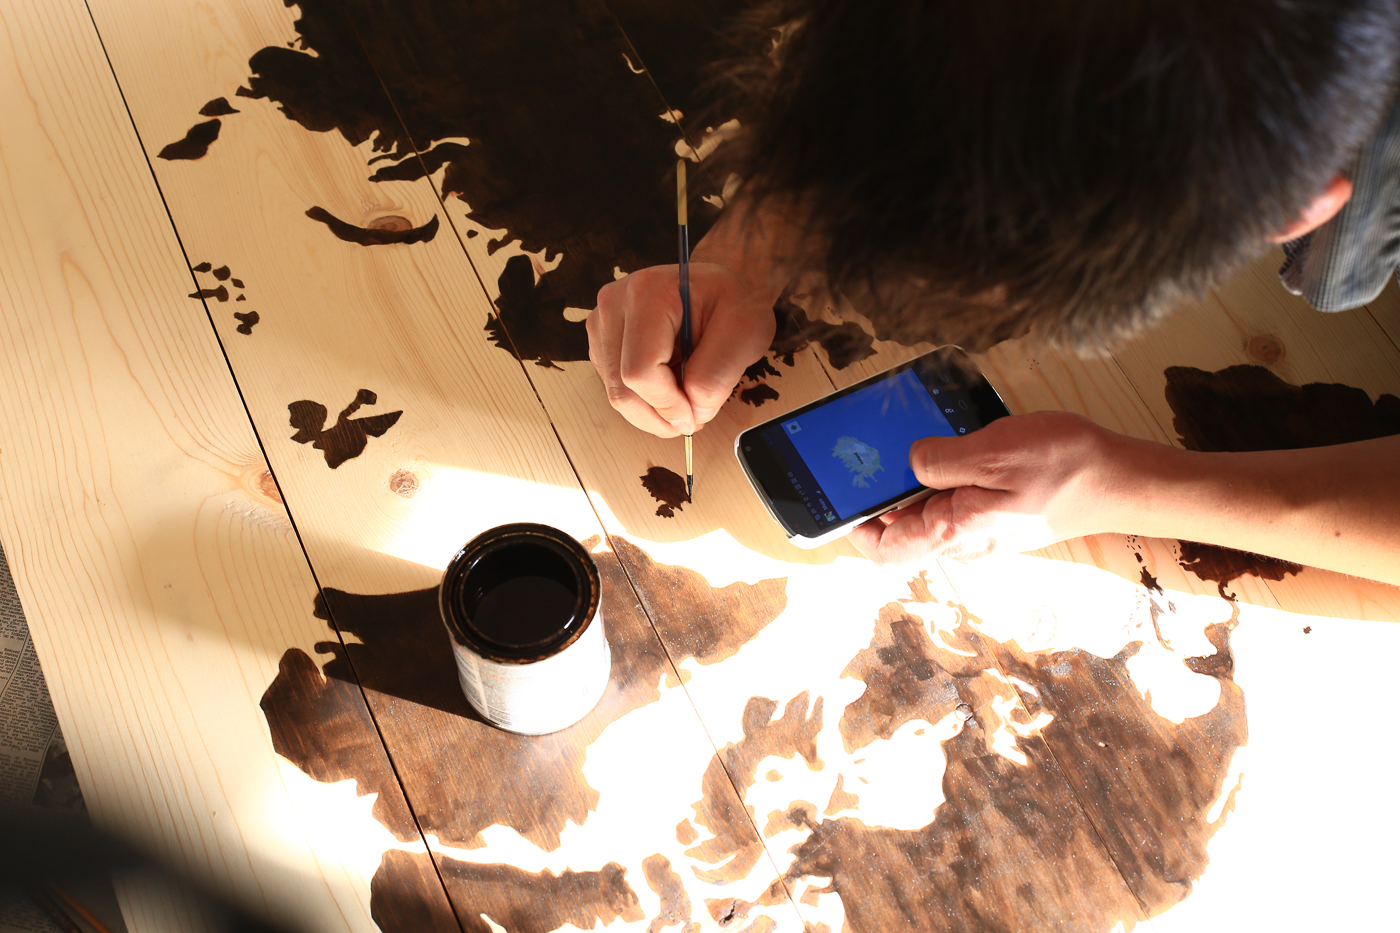
If you’re striving for perfection — The map printout recommended by THH is stylized, slightly imperfect, and excludes some of the tinier islands in the world. And depending on where your board edges fall and how well your tracing lines transferred, it may be difficult to tell what’s supposed to be a lake or an island, etc. Bust out Google Maps and compare as you go for any uncertainties and to add geographical details that are excluded on the stylized map.
Mount it up — This thing is heavy. Get a mounting kit that will support its weight. I bought two of these kits and attached one D-ring to each of the three back boards. I also drove a drywall screw through the center of each wall hook (which may have been a tad overboard, but California is prone to earthquakes, so I wanted to make sure it would withstand at least the little ones.) You’ll obviously want to use a ruler and level to be precise when hanging.
Mark it up — Find some fancy nails you like and start marking your travels! I really liked the look of the nails in the wall hanging kit, so I chose those to mark my map.
A shoutout to those who helped me
I’m as handy with a hammer as any dude, but my boyfriend was a welcome helper throughout the whole process. I also consulted with my dad regarding my plans for tackling this project, and his insight definitely contributed to the success of this project as well. (Thanks Dad and Ian!)
I hope you enjoyed reading about this DIY from thehappierhomemaker.com! What do you think? Is it worth a try?
Author Profile
- STG Founder & Contributing Editor
- Diana is an outspoken, DIY-ing, star-chasing, hockey-loving, dog-owning, veggie-eating professional wanderer. And that's not the half of it. Not long ago she jumped ship from a comfy, predictable American life, sold all her stuff, and set out to explore the unknown. Now a full-time traveler, Diana believes that spontaneity, a smile, and an organized suitcase are the three key elements to a happy nomadic existence. Follow her personal travels on North To South.
Latest entries
- June 22, 2017WeddingWedding Planning for the Bride On the Go — Getting Started and Setting a Date
- February 27, 2017Health and BeautyFirst-Timer’s Guide to Iceland’s Blue Lagoon
- October 5, 2016FashionCozy Cute Camping in New Zealand (Outfit)
- July 3, 2016Editor's PicksLupine Summer (Outfit)


[…] If you’re SUPER artistic yourself and enjoy big projects, look into trying this wooden wall art DIY, a more robust method of […]