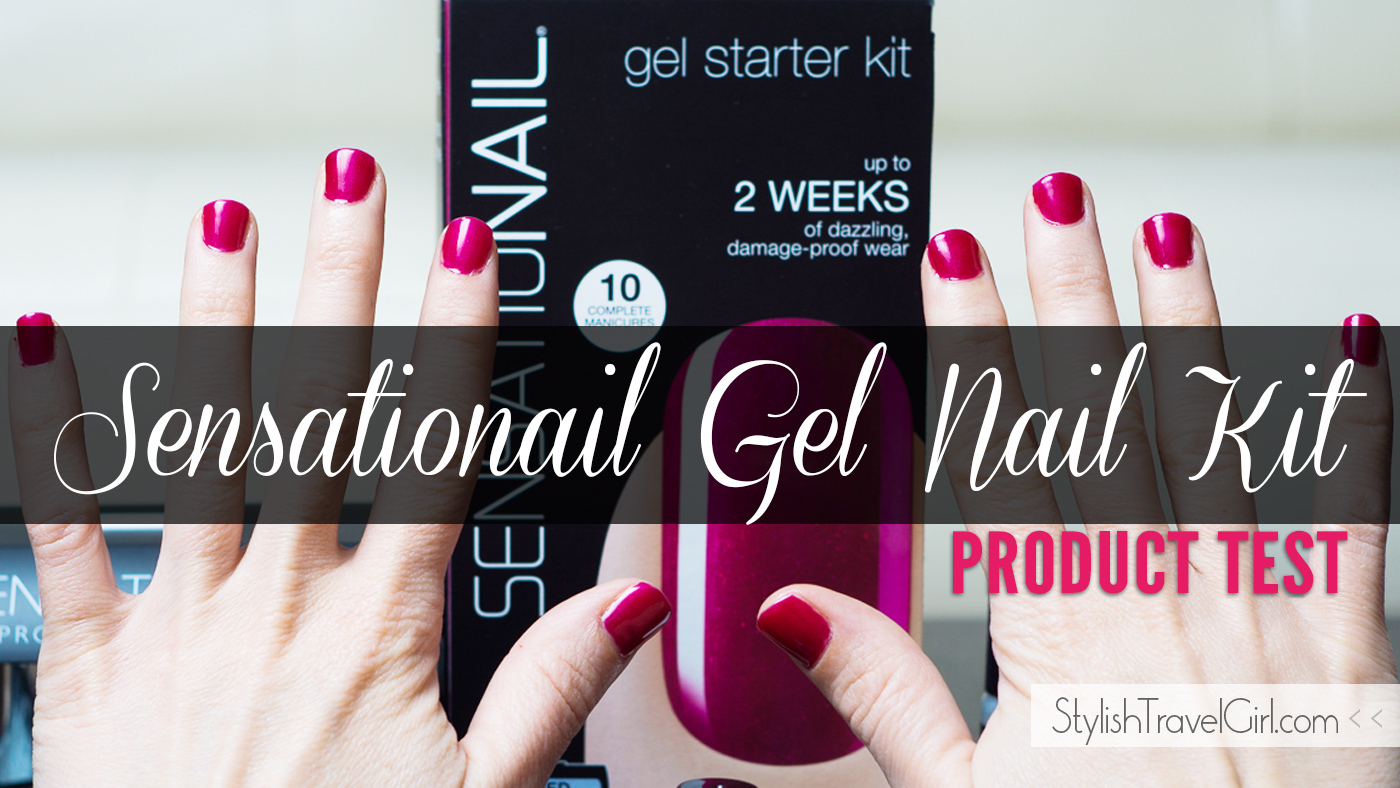
Product Test: Sensationail Gel Starter Kit
Does the word “manicure” make a regular appearance on your pre-vacation to-do list? It’s on mine, but it’s usually low priority because when it comes to polished nails, I’m completely torn. I don’t have the time — or the money — for a trip to the salon every two weeks. And while my DIY pedicures can last me a full month, a manicure on these hands rarely lasts longer than 3 days without major chipping — not something I want to deal with mid-trip. Now don’t get me wrong. I LOVE the look and feel of freshly polished nails, but so far the combination of time, effort and money I put into making my nails look pretty usually isn’t worth it to me. It would be so amazing if I could make an at-home manicure last two weeks!
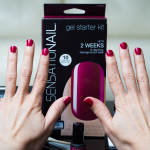
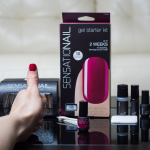
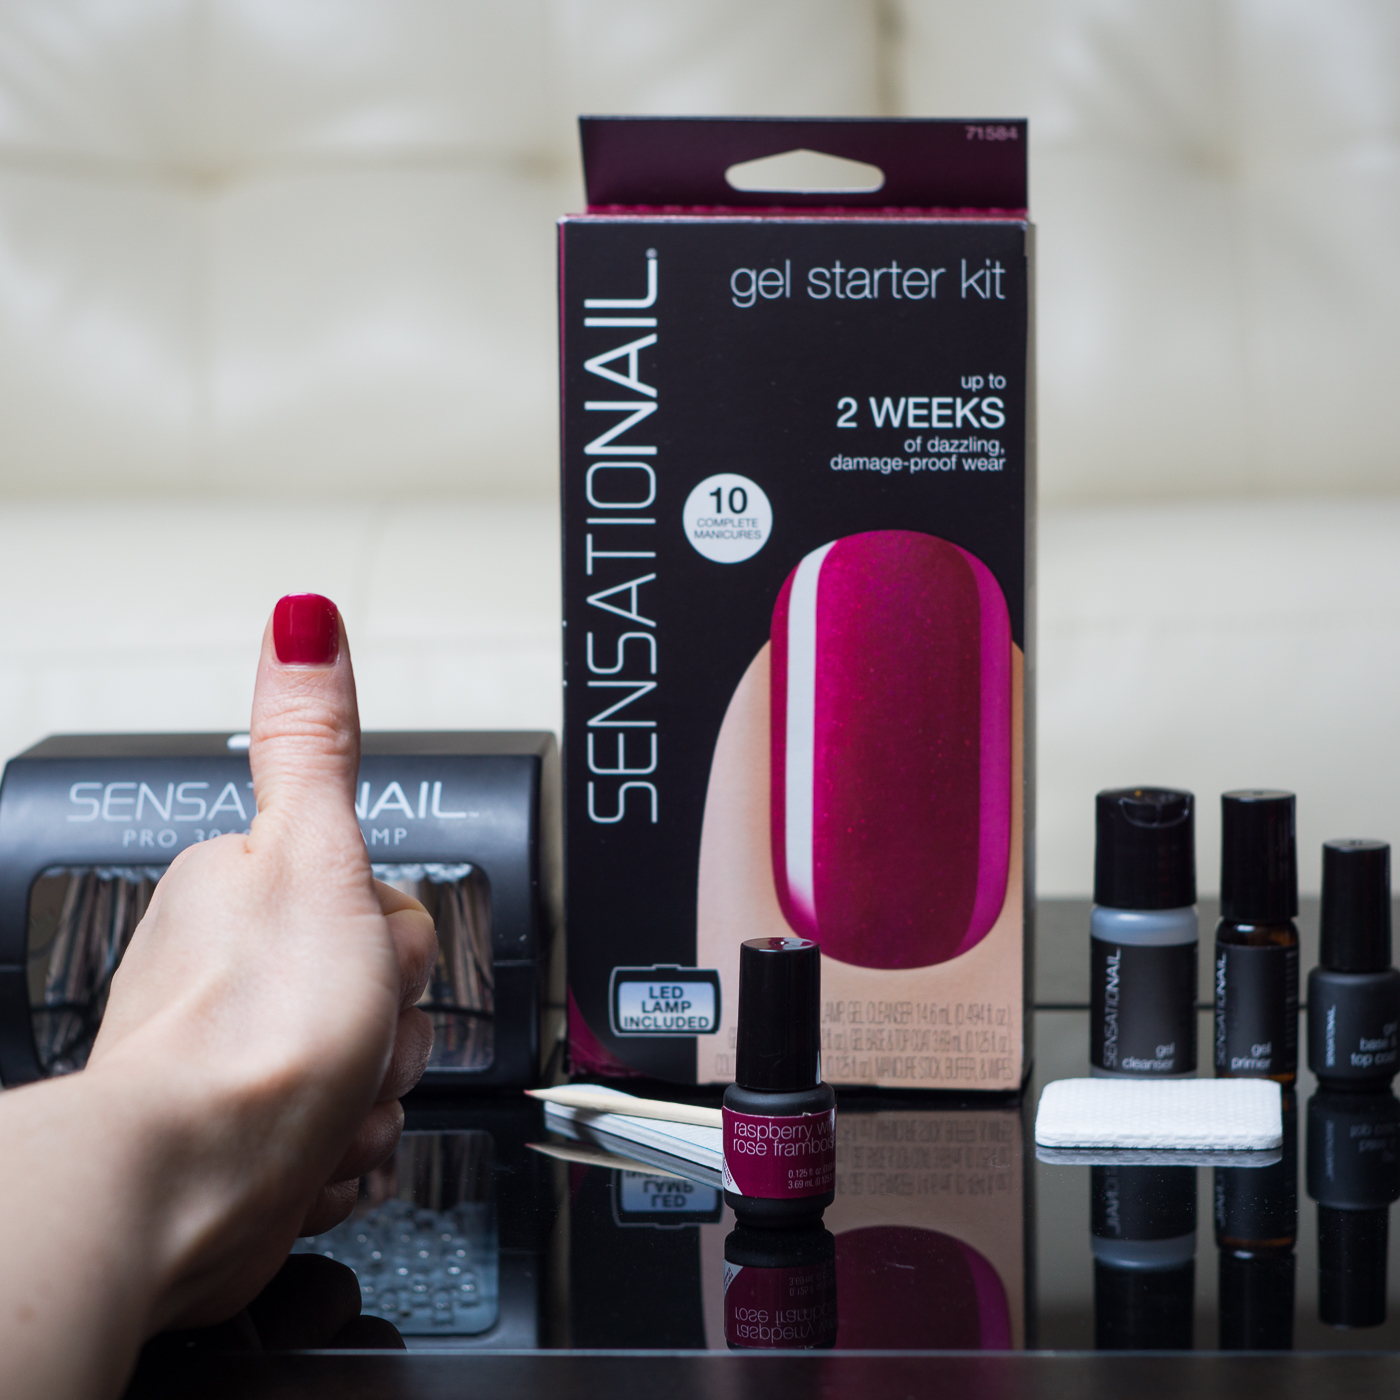
That’s why I decided to try an at-home gel nail kit. I spent several hours researching the best affordable at-home kits, and found the Sensationail Gel Starter Kit to be highly reviewed (4/5 stars) and extremely affordable on Amazon.com. There ARE some 1-star “this-didn’t-work-at-all” reviews, but the good outweighs the bad by far, and I was skeptical of the single star reviews. The kit includes everything you need to complete a manicure (actually 10, it claims), so I decided to buy one to test myself.
I just tried out my Sensationail kit today — so far, so good — and here I’ll be sharing the process with you, from application to removal (hopefully with two weeks in between).
Opening the Sensationail Kit
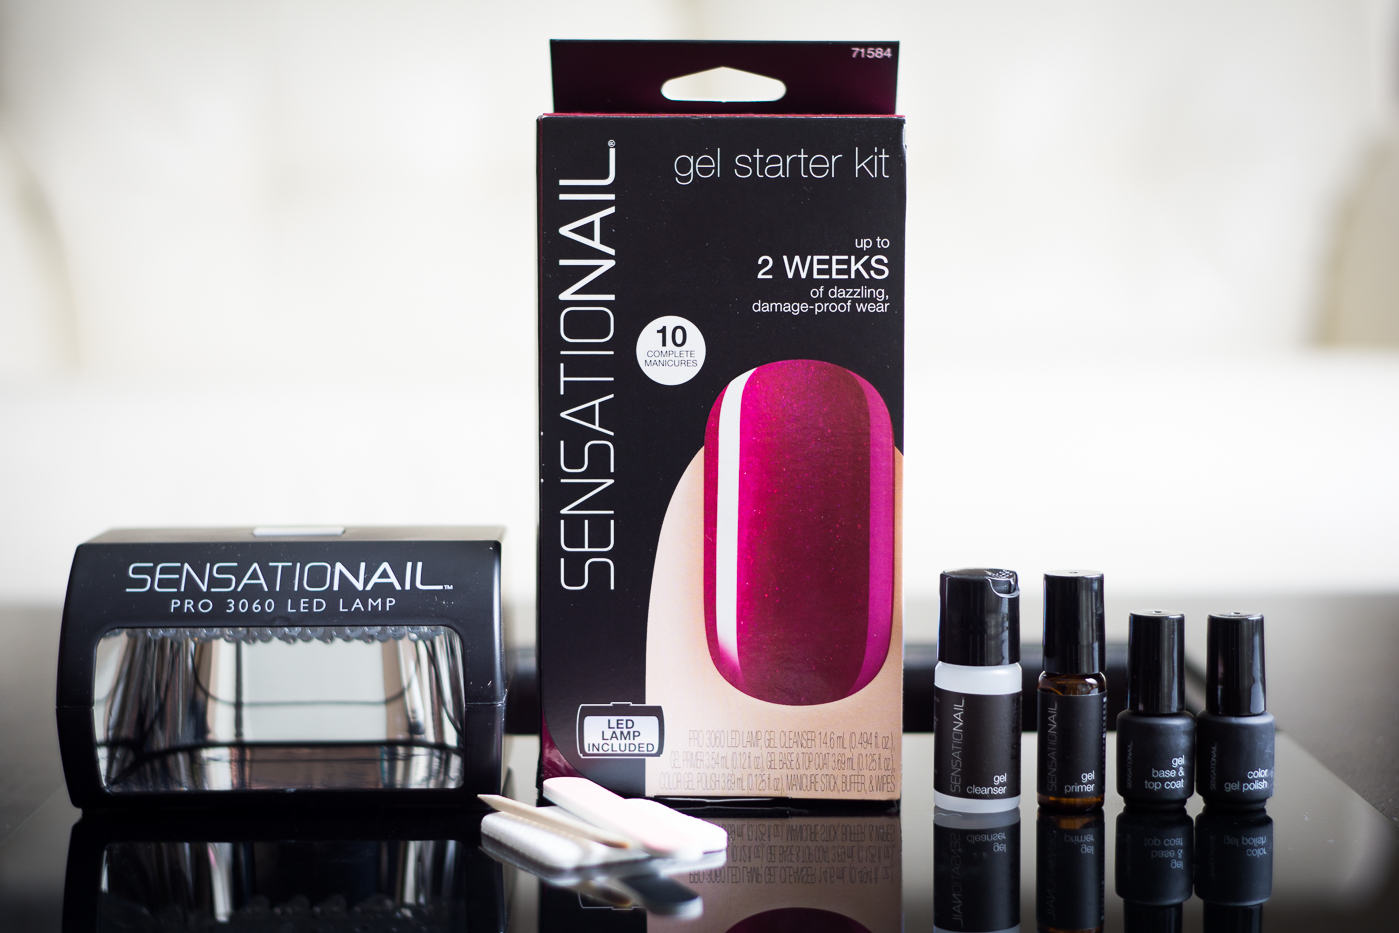
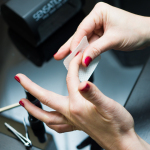
The kit includes everything you see pictured, plus detailed written instructions and a step-by-step abbreviated cheat sheet. I immediately plugged in the lamp to make sure it worked (it did). Everything was in order so I was ready to get started.
My First Manicure
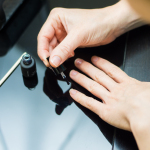
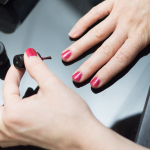
Application
November 16, 2014 — I followed the detailed written instructions to make sure I’d get this right on my first try. And I paid special attention to any tips given in the instructions. My guess is that your ability to follow these tips will either make or break your manicure.
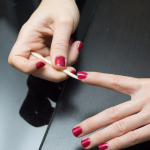
Here are a few tips and observations of my own, after applying my first manicure:
- Don’t skimp on prep time. You need to get your cuticle completely out of the way. The polish can’t touch your cuticle at all when curing.
- The painting part is actually easier. The color polish is moist, so as long as you aren’t adding extra polish, you can brush over your polish to smooth it out even several minutes after applying it (before curing). Since the polish isn’t air-drying like regular polish does, you don’t have to rush to smooth out any imperfections. But you DO have to avoid getting polish on your cuticle (a big challenge for me when painting with my left hand). See my last bullet point for what to do if that happens.
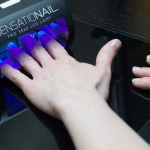
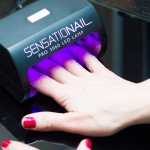
- Save on lamp time. I read one review that said the light wore out after 6 months. If you’re worried about that happening, instead of curing just 4 fingernails of one hand at a time, squeeze the thumb of your other hand in with them. That way you can get by with 2 rather than 3 lamp cycles.
- There IS room for mistakes. Mistakes of a certain nature, that is. You can fix: uncured bumped and out-of-bounds polish. Bumped polish is very easy to fix; just simply paint over it and it’ll smooth right out. Just don’t add a ton of extra polish when you do it. Out-of-bounds polish is a bit more of a pain, but as long as the polish that’s on your nail is physically separated from the out-of-bounds polish on your cuticle or skin (do this with the cuticle stick), you can get rid of it later with acetone. You can’t fix (according to the instructions): cured out-of-bounds polish that’s attached to what’s on your nail* — I imagine that’s how premature peeling starts — and missed steps. I’ve also heard applying too much polish can be a problem, so don’t go overboard.
*Oops! I messed up.
On my final coat (clear top coat) I suppose I got lazy, and I didn’t inspect my nails/cuticles carefully before curing. I realized my mistake as soon as I pulled my hand out of the lamp. I could feel my left index fingernail stuck to my skin. I’d let the clear polish spill over the edge and hadn’t separated the spillage before curing. So what did I do? I used the cuticle stick to lift the overflowed dry polish away from my skin and I trimmed it off with a nail clipper. I was a bit afraid that the polish would instantly peel off, but it didn’t. We’ll see how that nail fares this next week.
Initial Thoughts
DAY 1 [November 16, 2014] — Though all in all it took me about an hour to do my nails, the fact that they were instantly dry after curing made it worth it — as long as this lasts at least a week. (It claims to last up to 2 weeks.) And I’ll probably finish more quickly next time, without having to read the detailed instructions and stop for photos. My nails are sparkly, shiny and smooth!
In short: so far, so good!
Updates
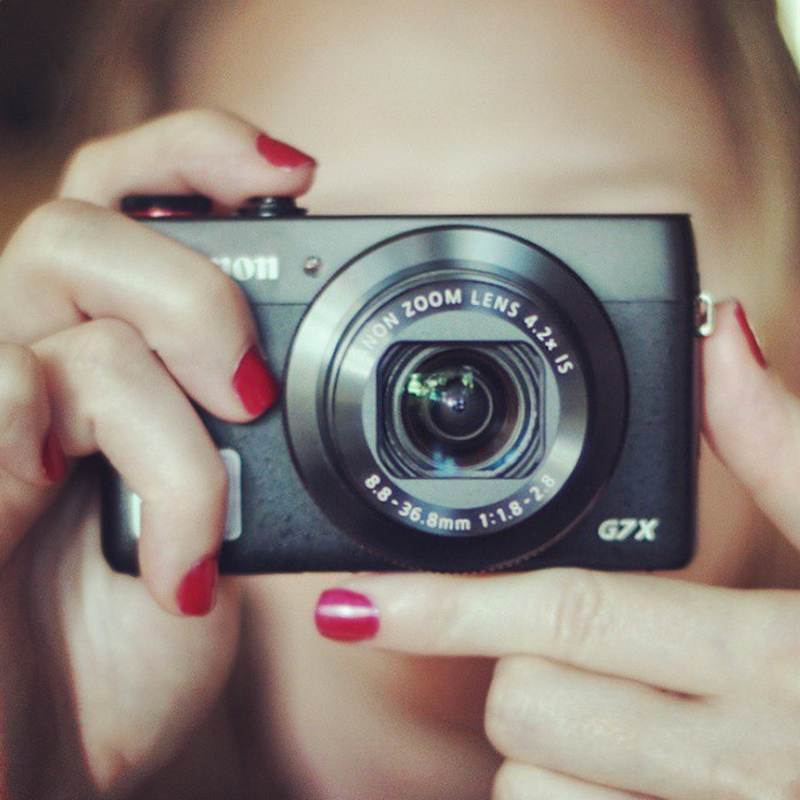
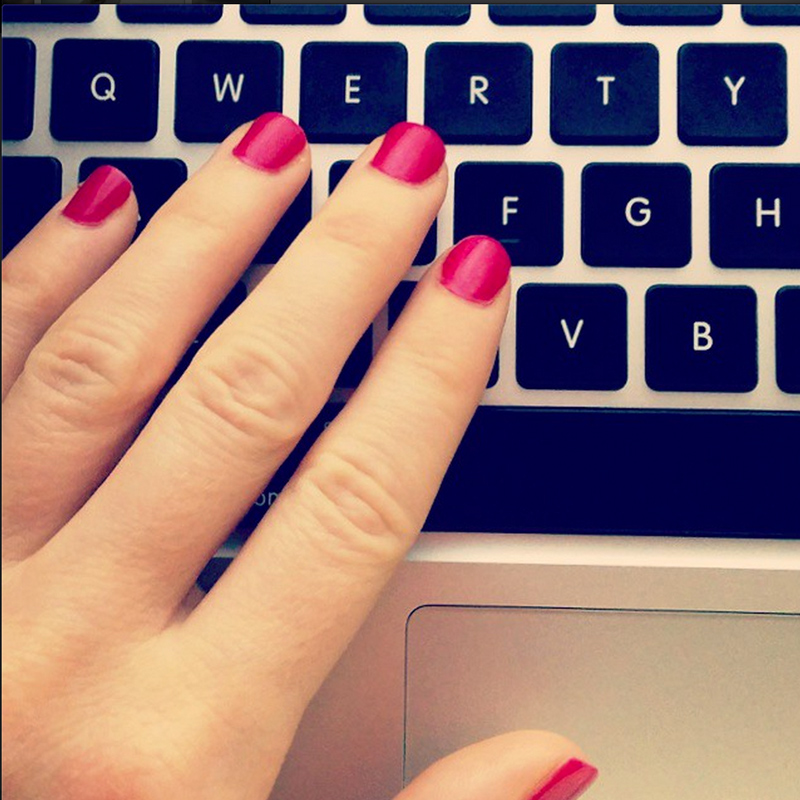
DAY 4 [November 19, 2014] — It’s day 4 and this manicure is still going strong. I’ve been doing plenty with my hands and fingers, too, including playing with dogs and horses, unpacking my car after a road trip, and even some light dishes. And this manicure is SO shiny! I give it an ‘A’ so far.
DAY 6 [November 21, 2014] — It’s day 6 and my manicure is still nice and shiny with no chips! My nails are getting long, though. I usually trim them every 4-5 days, so I’m not used to this length, but they look awesome so I really can’t complain.
DAY 8 [November 23, 2014] — I’ve officially entered week number 2 of this product test. It’s day 8 and I have to say I’m really impressed so far. My cuticles are starting to grow out, which you’d only notice on close inspection, but the manicure still basically looks brand new.
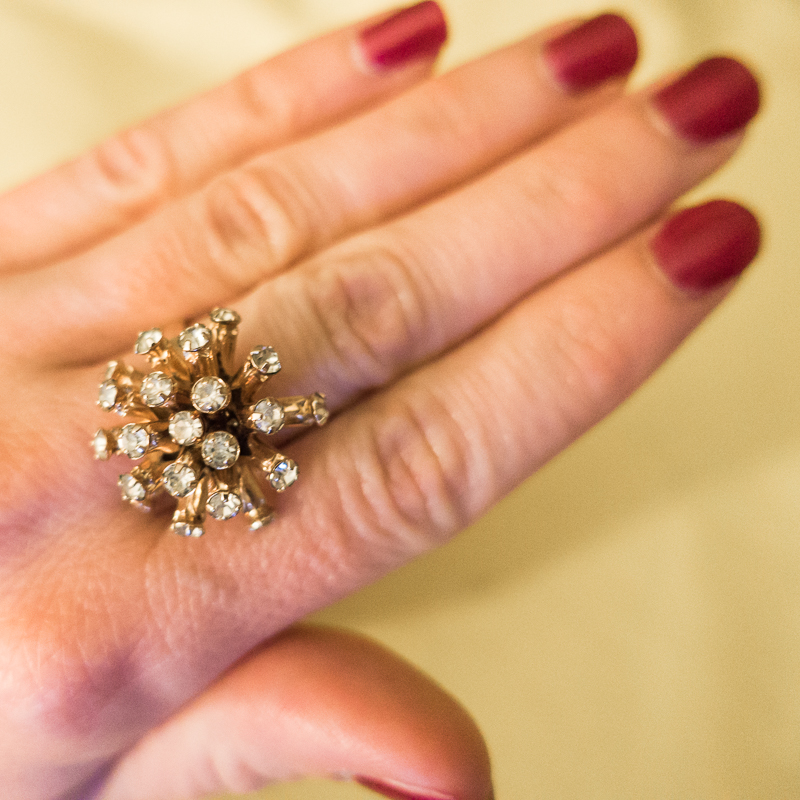
DAY 10 [November 25, 2014] — Still looking good. No chips on the tips nor near my cuticles. (Also, I found this fabulous ring today when I was out vintage shopping!)
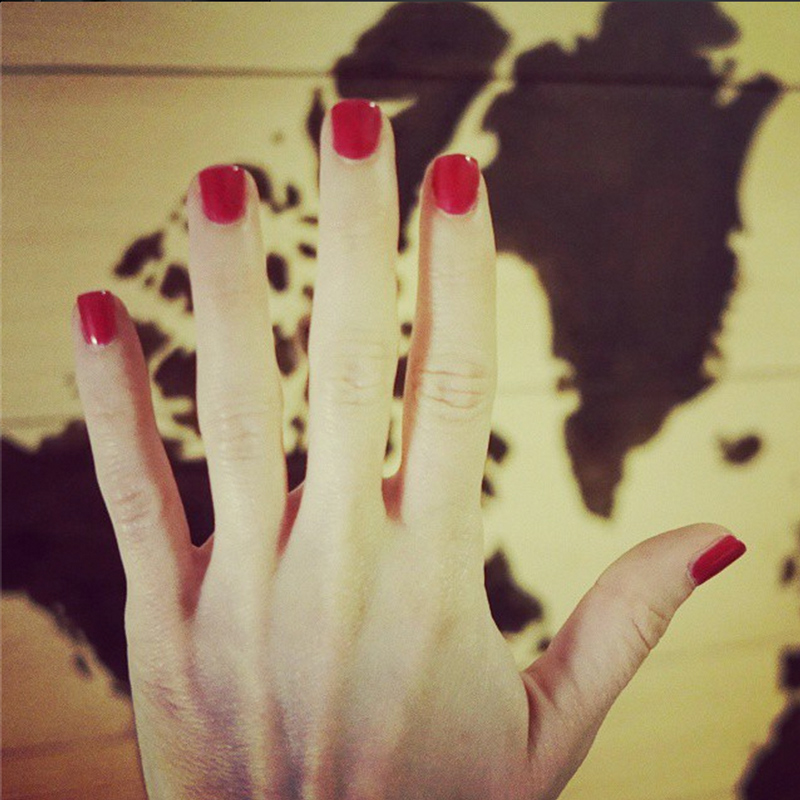
DAY 12 [November 27, 2014] — My nails are getting pretty long — much more than I’m used to — but we’re still miraculously chip-less here! Upon close inspection, you can see the nail that I kinda messed up during the application process. It’s been a non-issue and really isn’t visible except in a super-zoomed photo.
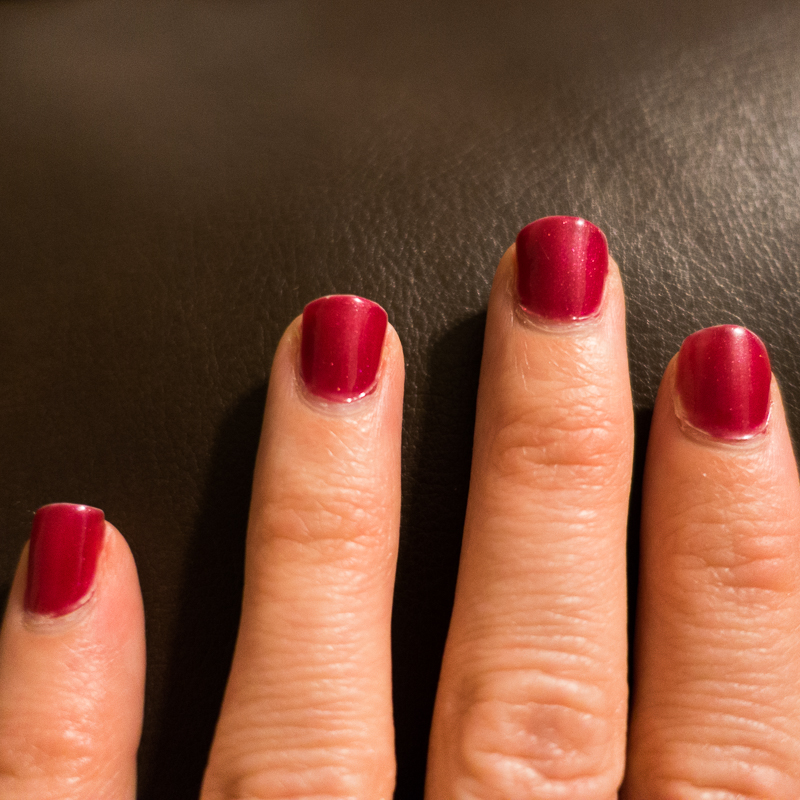
DAY 14 [November 29, 2014] — Two weeks just crept up on me. I’m thoroughly impressed. It’s the end of the day, so I’m this manicure officially lasted a full two weeks without chipping. And I’ve been mercilessly tapping my nails, typing, doing dishes, decorating the Christmas tree… you name it. I’m starting to wonder if it’ll be a huge battle to get this off. I guess we’ll find out tomorrow! Now that I know it’ll make it two weeks, I think I’ll order another color.
DAY 16 [December 1, 2014] — I finally removed my manicure, still looking the same as it did on day 14, with no chips. I soaked my nails in acetone, according to the instructions. There was a little bit of scraping involved (which I found easier to do with the thumbnail of my opposite hand rather than the wooden stick), but my nails were still in good condition — the same as when I applied the manicure. All in all it took me about 20-30 minutes before I had the polish fully removed. (And I used PURE acetone, outside in the fresh air.)
Have you tried an at-home gel manicure kit? What did you think of it? Let us know in the comments!
Author Profile
- STG Founder & Contributing Editor
- Diana is an outspoken, DIY-ing, star-chasing, hockey-loving, dog-owning, veggie-eating professional wanderer. And that's not the half of it. Not long ago she jumped ship from a comfy, predictable American life, sold all her stuff, and set out to explore the unknown. Now a full-time traveler, Diana believes that spontaneity, a smile, and an organized suitcase are the three key elements to a happy nomadic existence. Follow her personal travels on North To South.
Latest entries
- June 22, 2017WeddingWedding Planning for the Bride On the Go — Getting Started and Setting a Date
- February 27, 2017Health and BeautyFirst-Timer’s Guide to Iceland’s Blue Lagoon
- October 5, 2016FashionCozy Cute Camping in New Zealand (Outfit)
- July 3, 2016Editor's PicksLupine Summer (Outfit)